Vue.js:ElementUI、Axios、跨域问题
Element UI(Plus)
安装
|
|
当打开一个项目的时候,
node_modules一般是不存在的,这里放置的是项目的依赖库,都可以下载到。当项目目录下存在
package.json的时候,在该目录下运行npm install即可补全依赖。
在package.json中添加
|
|
ElementUI适用于Vue2,Element Plus适用于Vue3。
使用
修改main.js,参考如下:
|
|
参考Overview 组件总览 | Element Plus中的代码使用。
Axios
简介
Axios是一个基于promise网络请求库,作用于node.js和浏览器中,其在浏览器端使用XMLHttpRequests发送网络请求,并能自动完成JSON数据的转换。
安装
|
|
在package.json中添加
|
|
使用示例
发送GET请求
|
|
|
|
发送POST请求
|
|
POST请求发送的东西会被写为json,后端需要用@RequestBody来接收。
其它请求方式
与Vue结合
为了简化后续的URL地址,我们可以在main.js中配置:
|
|
mount()方法需在配置好全局属性后再调用。
$axios是自定义属性,后续通过this.$axios调用。这里的
baseURL比较智能,末尾的/加不加都无所谓。
生命周期函数
在Vue中,每个组件都有生命周期函数,在该组件运行到特定时候时会调用。
详细参考:生命周期选项 | Vue.js。
- 创建组件时运行:在
export default中声明
|
|
- 渲染完毕时运行:在
export default中声明
|
|
Axios一般在mounted中使用,使用前需要import,除非做了配置。
示例
|
|
这里的
created会失败,原因是跨域问题。
mounted的结果反而出现在created的错误信息前面,说明代码执行是异步的,不会停下来等待console.log(response)执行完毕。
跨域问题
为了保证浏览器的安全,不同源的客户端脚本在没有明确授权的情况下,不能读写对方资源,称为同源策略,同源策略是浏览器安全的基石。
-
同源策略(Same-origin policy)是一种约定,它是浏览器最核心也最基本的安全功能。所谓同源(即指在同一个域)就是两个页面具有相同的协议(protocol),主机(host)和端口号(port)。
-
当一个请求url的协议、域名、端口三者之间任意一个与当前页面url不同即为跨域,此时无法读取非同源网页的Cookie,无法向非同源地址发送AJAX请求。
CORS
-
CORS(Cross-Origin Resource Sharing)是由W3C制定的一种跨域资源共享技术标准,其目的是解决前端的跨域请求问题。
-
CORS可以在不破坏即有规则的情况下,通过后端服务器实现CORS接口,从而实现跨域通信。
-
CORS将请求分为两类:简单请求和非简单请求,分别对跨域通信提供了支持。
简单请求
满足以下条件的请求即为简单请求:
-
请求方法:GET、POST、HEAD。
-
除了以下的请求头字段之外,没有自定义的请求头。
-
Accept、Accept-Language、Content-Language、Last-Event-ID、Content-Type。
-
Content-Type的值只有以下三种:
text/plain、multipart/form-data、application/x-www-form-urlencoded。
对于简单请求,CORS的策略是请求时在请求头中增加一个Origin字段:
|
|
服务器收到请求后,根据该字段判断是否允许该请求访问,如果允许,则在HTTP头信息中添加Access-Control-Allow-Origin字段:
|
|
非简单请求
对于非简单请求的跨源请求,浏览器会在真实请求发出前增加一次OPTION请求,称为预检请求。
预检请求将真实请求的信息(请求方法、自定义头字段、源信息)添加到HTTP头信息字段中,询问服务器是否允许这样的操作。
例如一个GET请求:
|
|
-
Access-Control-Request-Method表示请求使用的HTTP方法。 -
Access-Control-Request-Headers包含请求的自定义头字段。
服务器收到请求时,需要分别对Origin、Access-Control-Request-Method、Access-Control-Request-Headers进行验证,验证通过后,会在返回HTTP头信息中添加:
|
|
-
Access-Control-Allow-Methods、Access-Control-Allow-Headers:真实请求允许的方法、允许使用的字段。 -
Access-Control-Allow-Credentials:是否允许用户发送、处理cookie。 -
Access-Control-Max-Age:预检请求的有效期,单位为秒,有效期内不会发送预检请求。
在SpringBoot中实践
添加配置类:
|
|
高版本把
allowedOrigins换成allowedOriginPatterns。
特别的:你也可以在某个控制器类上加@CrossOrigin注解。
实际案例
基于以上所有内容:对后端查询出来的用户表的显示的实现。
|
|
作用域问题(普通
functionvs 箭头函数)
问题代码:
1 2 3 4 5 6created:function(){ axios.get("http://localhost:8088/user").then(function(response){ console.log(response.data) // 这行能正常执行 this.tableData = response.data // 这行无法生效,甚至会报错 }) }正确的箭头函数写法:
1 2 3 4 5created:function(){ axios.get("http://localhost:8088/user").then((response)=>{ this.tableData = response.data // 能正常生效 }) }问题根源:普通
function的this是「动态绑定」,指向发生了改变。
在
created钩子函数内部(外层),this的指向是Vue 组件实例,this.tableData指向响应式数据。在
then的回调函数中,使用普通function,其是由axios内部调用的,而非 Vue 组件实例调用。函数内部的this指向发生了改变,不再指向 Vue 组件实例。箭头函数没有自己的
this,它不会创建自己的执行上下文,内部的this会继承自它定义时所在的外层作用域的this。箭头函数定义在
created钩子函数内部,外层created钩子的this指向 Vue 组件实例,因此箭头函数内部的this也会继承这个指向,依然指向 Vue 组件实例。箭头函数普及前的常用写法
提前保存外层
this:
1 2 3 4 5 6 7 8created:function(){ // 保存Vue组件实例的this到一个变量,供内层函数使用 const _this = this; axios.get("http://localhost:8088/user").then(function(response){ // 用_this访问Vue组件实例的tableData,不再依赖内层函数的this _this.tableData = response.data; }) }使用
bind()方法绑定this:
1 2 3 4 5created:function(){ axios.get("http://localhost:8088/user").then(function(response){ this.tableData = response.data; }.bind(this)) // 把外层Vue组件实例的this,绑定到内层普通函数上 }
渲染效果:
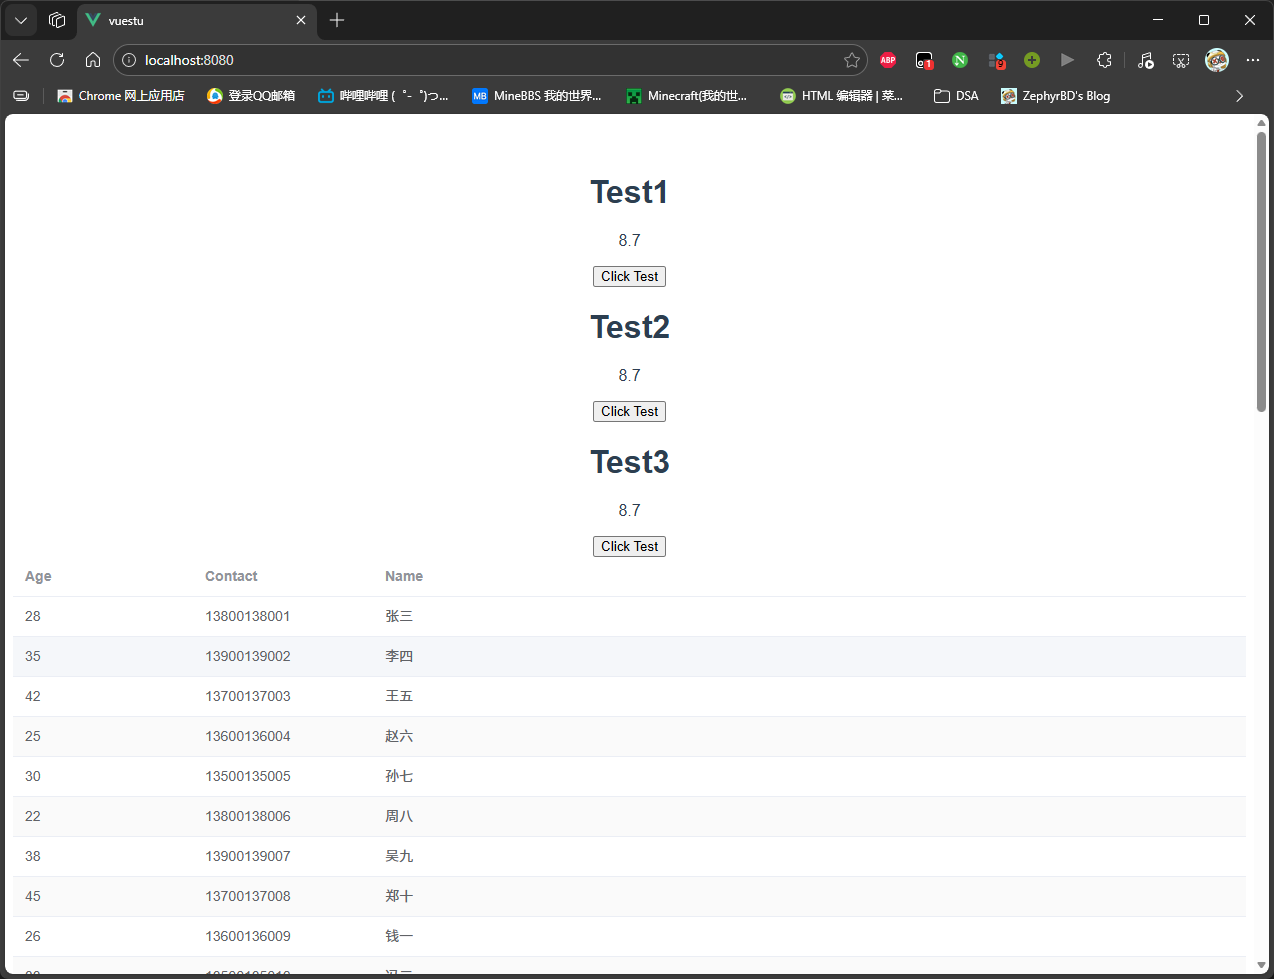
至此,我们初步打通了前后端。